概要
SwiftUIのViewでUIViewControllerやUIViewを呼び出す方法はUIViewControllerRepresentableやUIViewRepresentableを使用することで可能です。
逆にUIViewControllerの中でSwiftUIのViewを表示するにはUIHostingControllerを使用します。
今回はUIHostingControllerを使ってUIViewControllerの中でSwiftUIのViewを表示する方法を紹介します。
環境
この記事は以下のバージョン環境のもと作成されたものです。
【Xcode】14.0.1
【iOS】16.0.2
【macOS】Monterey バージョン 12.5
実装
実装方法はUIHostingController(rootView: MySwiftUIView())の形でrootViewに対してSwiftUIのViewを渡すことでUIViewController側で使用できるようになります。
例としては以下動作の様子とサンプルコードです。
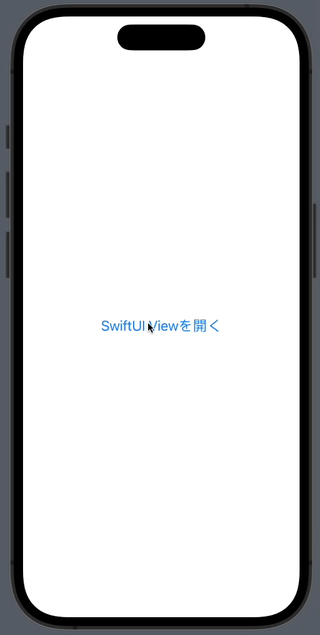
class MyViewController: UIViewController {
    override func viewDidLoad() {
        super.viewDidLoad()
        addOpenViewButton()
    }

    lazy var openViewButton: UIButton = {
        let button:UIButton = UIButton()
        button.frame.size.width = 200
        button.frame.size.height = 100
        button.titleLabel?.font = .systemFont(ofSize: 20)
        button.setTitle("SwiftUI Viewを開く", for: UIControl.State.normal)
        button.setTitleColor(UIColor.systemBlue, for: .normal)
        button.addTarget(self, action: #selector(didTapOpenView(sender:)), for: .touchUpInside)
        return button
    }()

    private func addOpenViewButton() {
        openViewButton.translatesAutoresizingMaskIntoConstraints = false
        view.addSubview(openViewButton)
        NSLayoutConstraint.activate([
            openViewButton.centerYAnchor.constraint(equalTo: view.centerYAnchor),
            openViewButton.centerXAnchor.constraint(equalTo: view.centerXAnchor)
        ])
    }

    @objc func didTapOpenView(sender _: UIButton) {
        let vc = UIHostingController(rootView: MySwiftUIView())
        vc.modalPresentationStyle = .fullScreen
        present(vc, animated: true)
    }
}
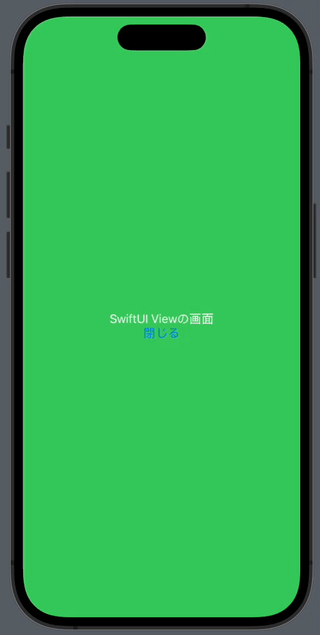
struct MySwiftUIView: View {
    @Environment(\.dismiss) private var dismiss
    @State var text = "open SwiftUI View"
    var body: some View {
        ZStack {
            Color.green
                .ignoresSafeArea()
            VStack {
                Text(text)
                    .foregroundColor(.white)
                Button {
                    dismiss()
                } label: {
                    Text("閉じる")
                }

            }
        }
    }
}
少し解説するとMyViewControllerの中でdidTapOpenViewを叩くことでUIHostingControllerでラップされたMySwiftUIViewを呼び出しています。
またdismissを叩くことで閉じています。
値を渡す
ここでは簡単に静的に渡したいケースを例として紹介させていただきます。
didTapOpenViewの中身を以下に変更します。
@objc func didTapOpenView(sender _: UIButton) {
    let text = "UIViewControllerから開いたよ"
    let vc = UIHostingController(rootView: MySwiftUIView2(text: text))
    vc.modalPresentationStyle = .fullScreen
    present(vc, animated: true)
}
これでMyViewControllerから開いた時はMySwiftUIView側で表示されている文字が変更されます。
まとめ
UIHostingControllerでラップするだけで使用できるので非常に簡単に実装できました!
またCombineを使用したUIKit側とSwiftUI側でのデータバインディングについても書きたいと思います。