概要
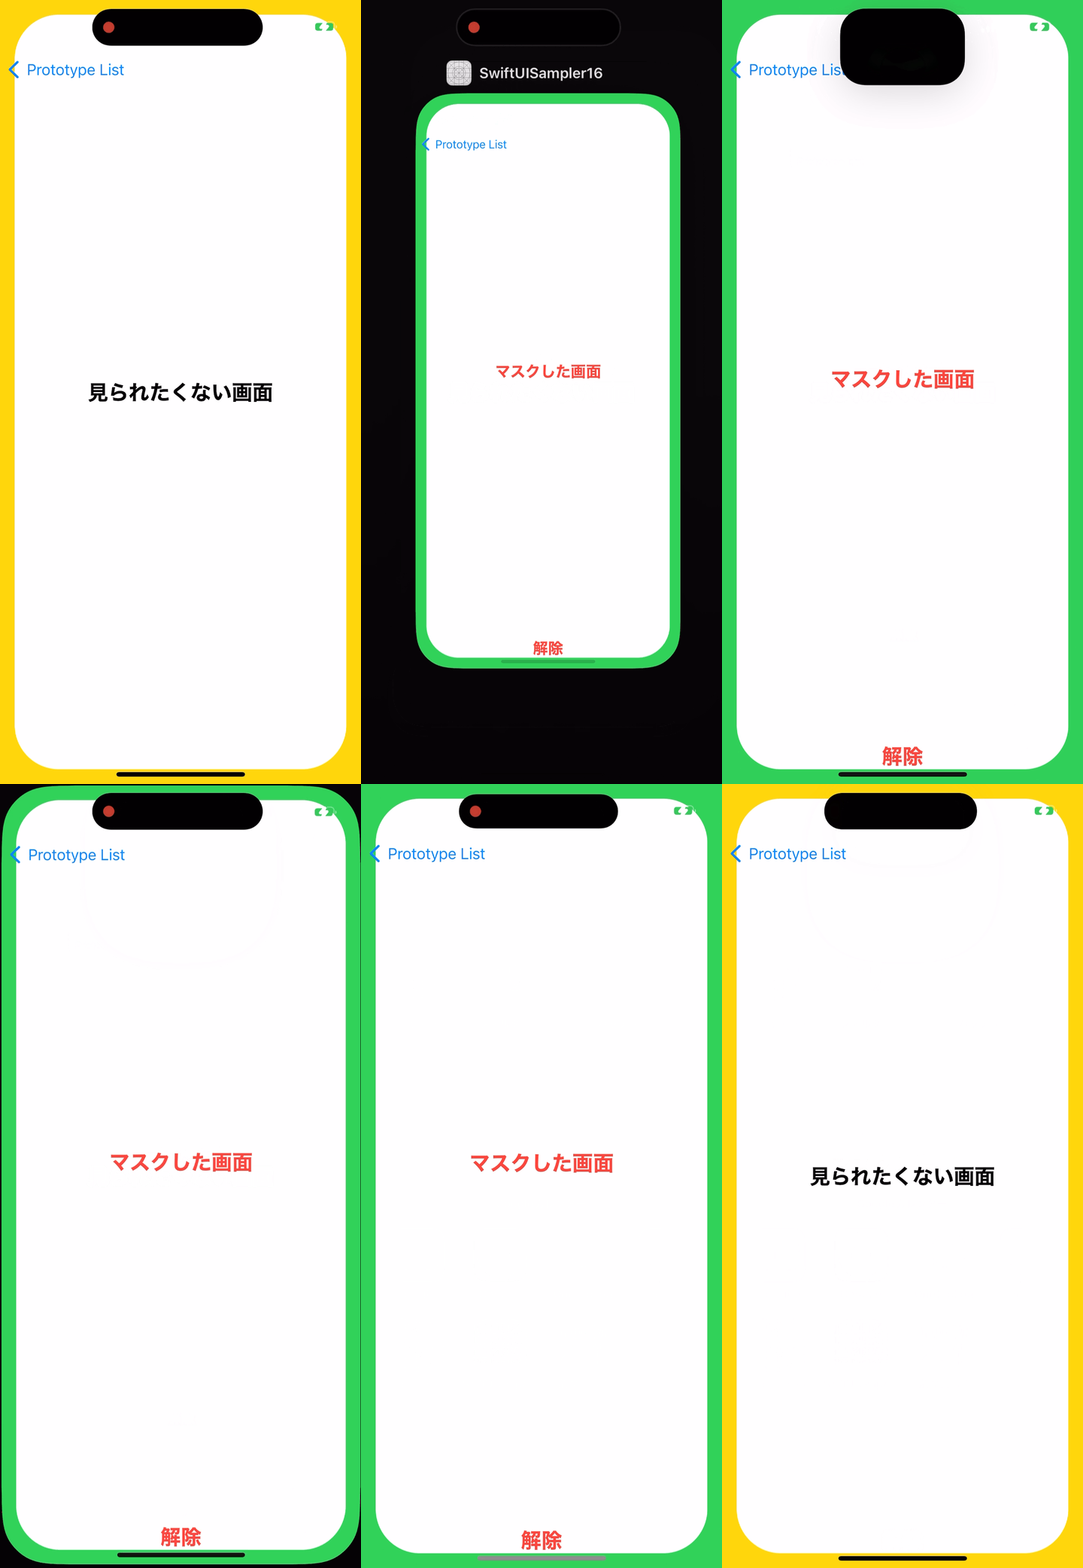
金融系のアプリなどでよくある実装かと思いますが、アプリでbackgroundを検知した時に画面をマスクする方法について紹介したいと思います。
作ったもの

環境
この記事は以下のバージョン環境のもと作成されたものです。
【Xcode】14.3
【iOS】16.4
【macOS】Ventuta
SwiftUIでの実装
SwiftUIではscenePhaseを使用する事でアプリのシーン状態を検知することができます。
iOS 14〜利用可能で公式ドキュメントのリンクは以下の通りです。
検知できる状態は以下の通りです。
| case | 状態 |
|---|---|
| inactive | スイッチャーが表示されている状態 |
| active | foregroundの状態 |
| background | backgroundの状態 |
余談ですがinactiveに関して、アプリを切り替えるシーンって何ていうのか調べていたら公式にありました。
スイッチャーって言葉に馴染みがなかったので少し驚きましたw

以下サンプルコードです。
struct ContentView: View {
    @Environment(\.scenePhase) private var scenePhase
     var body: some View {
           SomeView()
                .onChange(of: scenePhase) { newScenePhase in
                    switch newScenePhase {
                    case .active:
                        print("Active")
                    case .inactive:
                        print("Inactive")
                    case .background:
                        print("Background")
                    @unknown default:
                        print("Unknown")
                    }
                }
        }
    }
}
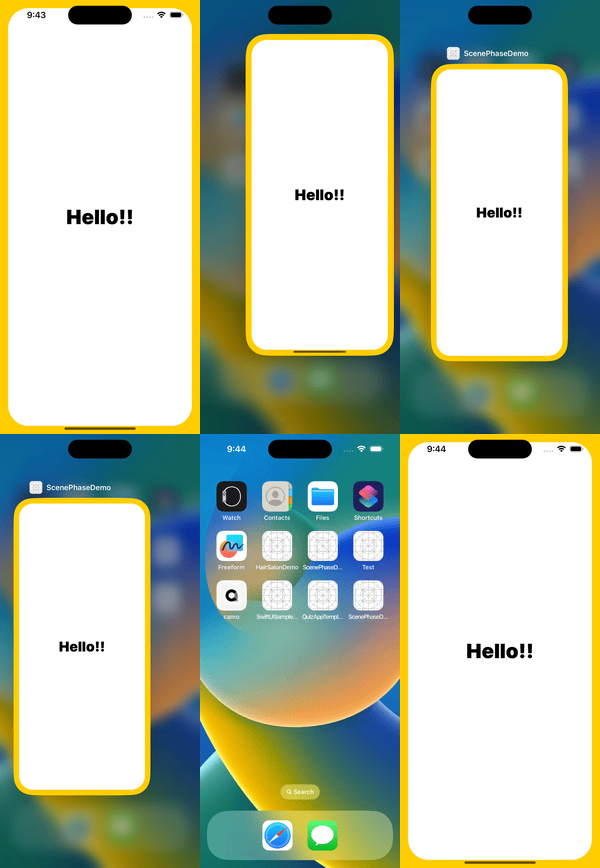
コンソールで状態変化を確認することができます。
もう少し実践的なコードはこんな感じです。
struct ContentView: View {
    @State private var isSecretMode = false
    @Environment(\.scenePhase) private var scenePhase
    var body: some View {
        ZStack {
            if isSecretMode {
                Color.white
                    .frame(maxWidth: .infinity, maxHeight: .infinity)
                    .clipShape(RoundedRectangle(cornerRadius: 40))
                    .padding()
                    .background(Color.green)
                VStack {
                    Text("Secret View")
                        .foregroundColor(.black)
                        .font(.system(size: 40, weight: .black))
                        .padding(.bottom, 40)
                    Button {
                        isSecretMode = false
                    } label: {
                        Text("Open")
                            .foregroundColor(.yellow)
                            .font(.title)
                            .bold()
                    }
                }
            } else {
                Color.white
                    .frame(maxWidth: .infinity, maxHeight: .infinity)
                    .clipShape(RoundedRectangle(cornerRadius: 40))
                    .padding()
                    .background(Color.yellow)
                VStack {
                    Text("Hello!!")
                        .foregroundColor(.black)
                        .font(.system(size: 40, weight: .black))
                }
            }
        }
        .onChange(of: scenePhase) { newValue in
            print(newValue)
            if newValue == .background  {
                isSecretMode = true
            }
        }
        .ignoresSafeArea()
    }
}
ただこれだとスイッチャーの状態では画面が見えてしまうので、もっとセキュリティを高めたければforegroundの状態から離れた時(Inactive)の状態を検知して実装するのが良さそうです。

UIKit
UIKitではバックグラウンドを検知する方法はいくつかあります。
例えばライフサイクルを管理するためのデリゲートクラスでSceneDelegateがあり、それを利用するとbackgroundの状態やforegroundの状態を知ることができます。
またNotificationCenterを使用して検知することができます。
class ViewController: UIViewController {
    override func viewDidLoad() {
        super.viewDidLoad()
        NotificationCenter.default.addObserver(self, selector: #selector(didEnterBackground), name: UIApplication.didEnterBackgroundNotification, object: nil)
        NotificationCenter.default.addObserver(self, selector: #selector(willEnterForeground), name: UIApplication.willEnterForegroundNotification, object: nil)
    }
    @objc func didEnterBackground() {
        print("View Controller: アプリがバックグラウンドに入りました。")
    }
    @objc func willEnterForeground() {
        print("View Controller: アプリがフォアグラウンドになりました。")
    }
    deinit {
        NotificationCenter.default.removeObserver(self)
    }
}
LocalAuthenticationと組み合わせてみる
生体認証とくみあわせて実装するとより実践的な動作になります。

生体認証については以下参考にしてください。
まとめ
以上アプリでbackgroundを検知した時に画面をマスクする方法についてでした!
